


How Do You Troubleshoot ‘Kernel Security Check Failure’ On Windows 10/11?
by Shahnawaz Alam Technology 02 January 2024
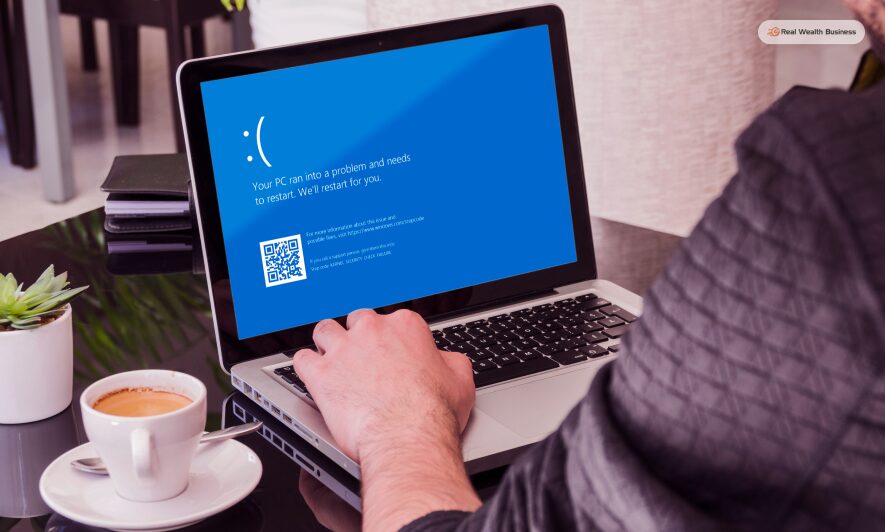
Are you seeing “Kernel security check failure!” on your Windows screen?
If you are a Windows user, you may see different troubling issues, BSOD, and errors, from time to time. But there is nothing to worry about. There are so many resources online to help you troubleshoot these issues. Yes, you need not rely on any expert. You can solve them yourself.
In this article, I have provided you with three ways to troubleshoot Kernel Security check failure. Keep reading to troubleshoot your way through this issue.
“Kernel Security Check Failure”: Explained
Most Windows users use Windows 10. But if you see “Kernel Security Check Failure” while working, it might seem quite alarming. Usually, if you have issues like BSoD (blue screen of death) on Windows, it happens due to any hard drive crash. In most cases, Windows restarts on its own to fix such issues. But Kernel security check failure is a major problem that needs troubleshooting.
These issues can be quite expensive. However, you can make the process hassle-free by following the troubleshooting method provided here. Yes, you can do it on your own at home.
How To Troubleshoot “Kernel Security Check Failure?”
Here are some methods for troubleshooting “Kernel Security Check Failure” on Windows 11/10.
Method 1: Turn On ‘legacy Advanced Boot Menu.’
Follow these steps to turn the Legacy advanced boot menu to fix your errors.
Step 1
First, you have to take your secondary computer and ready a bootable installation USB drive. You can do the same by downloading the image from the Microsoft website.
Step 2
Now choose “Select Edition,” and choose Windows 10, and next click on “confirm.”
Step 3
You have to confirm the language and the Windows architecture that you want to download.
Step 4
Now, your file will start to download. Are you done downloading the file? It is time to open the file by clicking on it.
Step 5
Now, you have to accept the terms of the license. In the next window, click on “Create installation media for another PC.” Following that, click on “Next.”
Step 6
Select “Use the recommended settings for this PC” and go forward by clicking on “Next.”
Step 7
You have to plug in your USB drive next. Followed by that, choose USB flash drive,”. Next, install the bootable installation media on the USB drive. Next, click on Finish after it is done.
Step 8
Now you have to restart the computer where you are seeing the Kennel Security Check Failure. Next, plug in the USB drive.
Step 9
There will be a “Choose an option” visible on the screen. From there, select “Troubleshoot.” Now select “Command Prompt” and open it.
Step 10
Now, type in “C:” and then type “BCDEDIT /SET {DEFAULT} BOOTMENUPOLICY LEGACY.” Next, follow that process by clicking on the “Enter” key to execute the command.
Step 11
So, are you done? If you are, then restart the computer to complete the process.
Method 2: Update Windows To The New Version
A great and simple way to troubleshoot this situation would be by updating your computer’s Windows 10 to the latest version. Updates help you troubleshoot BSOD errors. Even if you see the Kernel security check failure, you can troubleshoot it by updating the system to the latest version. Latest updates help patch security holes in your system, fix bugs, and bring new features. Here is how you can update your system to the latest version of Windows –
- Go to the Start menu on your computer. Next, choose Settings, or alternatively, use the Windows + I shortcut.
- Click on the Update & Security title. You will find most of your window update settings here. Furthermore, you can also choose when to get updates on your PC.
- You must stay on the tab reading Windows Update. Click on the option reading Check for Updates. You have to give Windows 10 some time to find updates (if they are available.)
- If you find an update, you have to click on the Install option. This, too, will require you to wait for a specific time. Then, Windows 10 will get updated on your device. Also, when you have installed Windows 10 successfully, check if the Kernel Security Check Failure is resolved or not.
Method 3: Run The SFC Scan And ‘chkdsk’ Commands
The system file checker is a tool present in most Windows versions by default. If you have a corrupted system file or similar issues, you can run it and fix the issues. This is also called the SFC scan. You have to run ‘chkdsk’ to repair the PC. It helps identify and eliminate any disk issues (including kernel security check failures).
- On your taskbar, open the Search function. You can also use the Ctrl+S shortcut to go to the command prompt bar. When you see the same on the results, you have to right-click on it and click on Run as Administrator.
- Press the Windows + R buttons on your keyboard to bring up the Run utility. Next, type in “cmd” and press the Ctrl + Shift + Enter keys on your keyboard. This lets you launch the command prompt using administrative permissions.
- Now type Windows + X. This shortcut will lead you to select Command Prompt (Admin).
- You will be prompted to click Yes by the UAC (User Account Control).
- First, we will run System File Checker. Next, type in the commands provided here –sfc /scannow. Press the enter key to execute the c command.
- You have to wait till the SFC scan finishes analyzing the computer for potential issues to repair. This process takes some time. So, do not shut down the system just yet.
- Next, you have to input this command followed by the Enter to execute it: chkdsk C: /f /r /x
- This command will check the C drive. If your Windows is installed on a different drive, you have to modify the command and replace C:
- You have to wait for Wait till the Check Disk command finishes running. It’ll try to fix issues related to the drive. Once you are done executing both commands, restart the computer.
Bottom Line
If one of these methods is not working, the other one will, for sure. Although it might seem frustrating at first, you can troubleshoot this issue on your own. Ensure that you follow any of these methods, starting with updating your Windows 10 to the latest version.
Did you find the solution you were looking for? Please let us know through the comment section. Thank you for reading.
Read Also:


Related