


How to Migrate Distribution Groups and Public Folders to Office 365?
by Piyasa Mukhopadhyay Blog 24 September 2025

Exchange Server offers a range of features for collaboration purposes. The most commonly used features for collaboration are public folders and distribution groups. Public folders are used to collect, organize, and share information with members within the organization.
On the other hand, distribution groups consist of multiple recipients and are visible in the organization’s shared address book. These groups allow emails to be sent to all members at once.
Unlike shared folders, distribution groups do not store emails but simply forward messages to their members.
Public Folders vs Distribution Groups – A Comparison
Here is a table of comparison between public folders and distribution groups based on different features:
| Feature | Public Folders | Distribution Groups |
|---|---|---|
| Type | Work as shared location to store information that can be accessed by all the members of organization with proper permissions. | Used specifically to share emails between the members added in the group. |
| Size | Ideal size of a public folder can be up to 25 GB. | Ideally, a distribution group can have 100000 members. |
| Access | Any member of the organization can access and see the information stored in the public folder. | Only the group members added by the group owner can view the shared emails in the group. |
| Shared Content | Contents including, calendars, contacts, notes, etc. are stored in the public folder. | Only emails are shared in the distribution group. |
| Archive Emails | Archive emails can be stored in the public folder. | Archive emails can be stored in the recipient’s mailbox. |
| Supported Applications | Outlook 2010 or later, Outlook on the web | Outlook 2010 or later, Outlook on the web |
As you can see, public folders and distribution groups store essential information that users need to access regularly.
Therefore, when migrating from Exchange Server to Office 365, it is crucial to migrate distribution groups and public folders, along with primary mailboxes. In this article, we will discuss the ways to migrate distribution groups and public folders to Office 365.
How to Migrate Distribution Groups to Office 365?
Distribution groups are not a part of the user’s primary mailbox. So, there is no direct option to migrate distribution groups from on-premises Exchange Server to Office 365.
To perform the migration, you need to first export the distribution group to a CSV file, create a new distribution group in Office 365, and then populate it with the CSV file. Let’s see the detailed process.
Step 1: Create CSV File of the Distribution Groups
First, you can create a CSV file to store information of all the distribution groups. To create the CSV file, follow the below steps:
- Open Exchange Admin Center and navigate to recipients > groups.
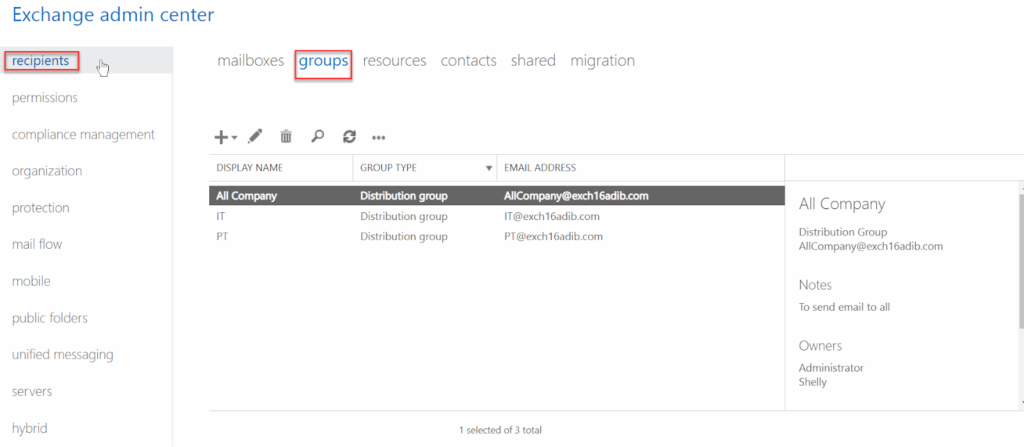
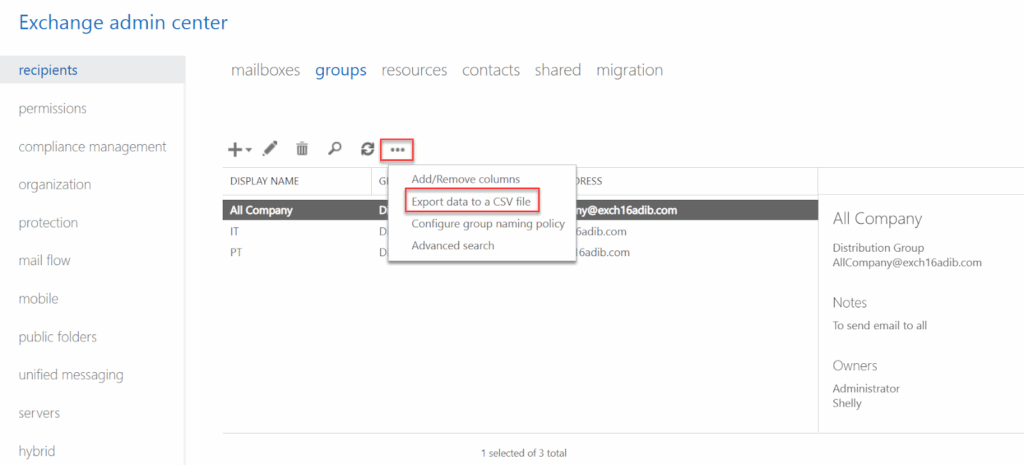
- Click on the more option icon and select Export data to a CSV file.
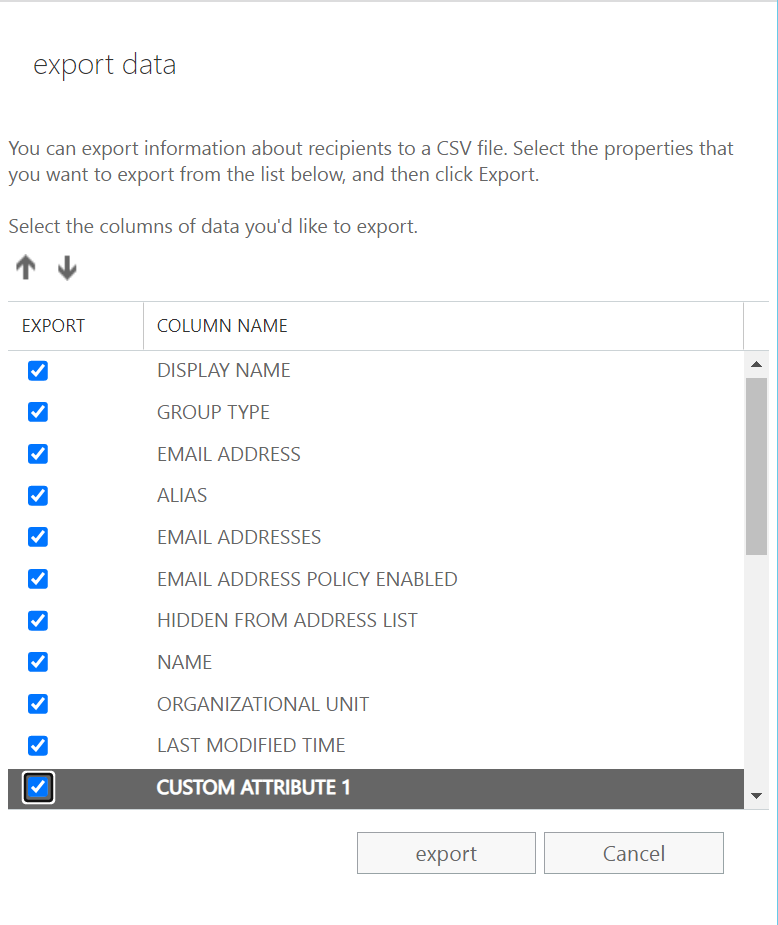
- Select the data you want to include in the exported CSV file and click on export.
- Open the exported CSV file and remove any spaces from the headers.

- Rename the CSV file.
Step 2: Create a New Distribution Group in Office 365
You can populate the CSV file in an already existing distribution group in Office 365 but it is advised to create a new distribution group to avoid confusion. Here are the steps to create a new distribution group in Office 365:
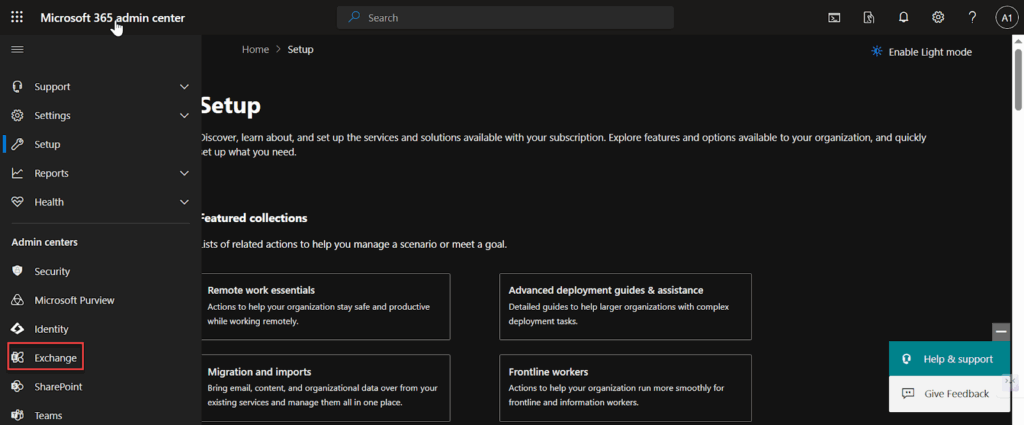
- Login to Microsoft 365 Admin Center and navigate to Exchange Admin Center.
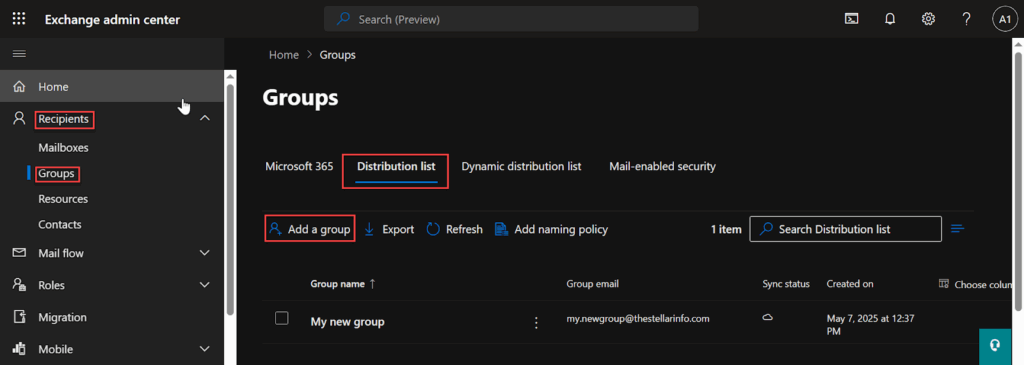
- Navigate to Recipients > Groups > Distribution list and click on Add a group.
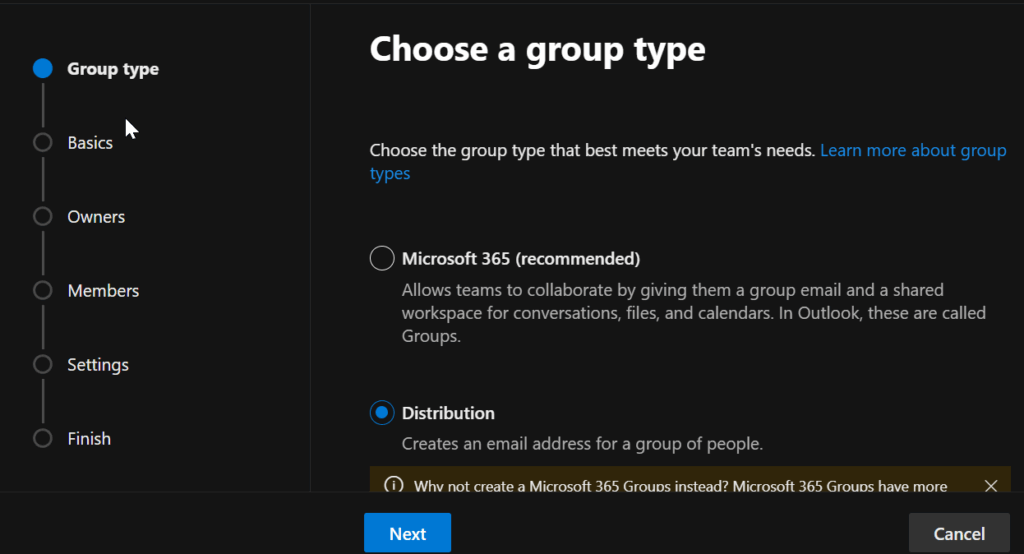
- Select the group type as Distribution and click Next.
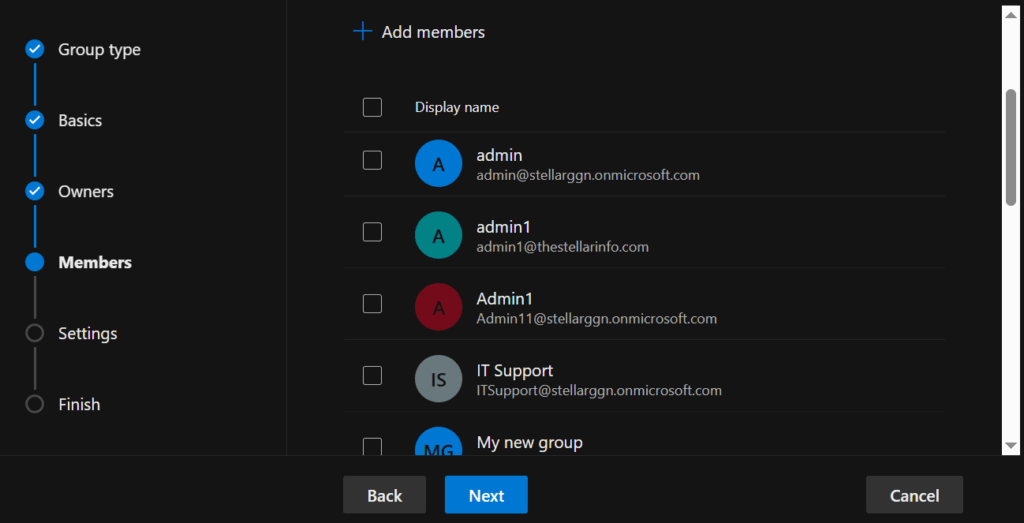
- Fill in the basic information and add the owners and members. Click Next.
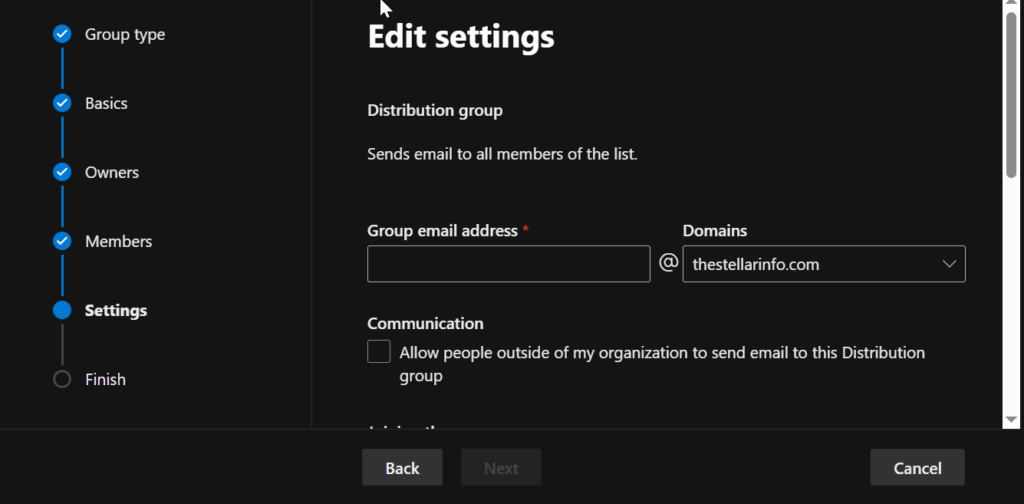
- Add the email address for the distribution group and configure the settings.
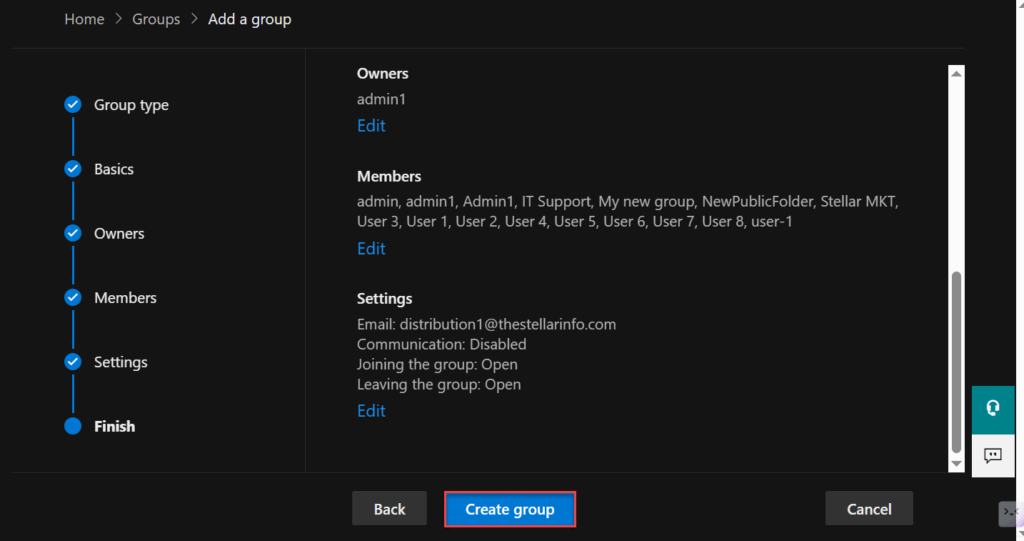
- Review the group settings and Edit any attribute, if required. Once the settings are verified, click on Create group.
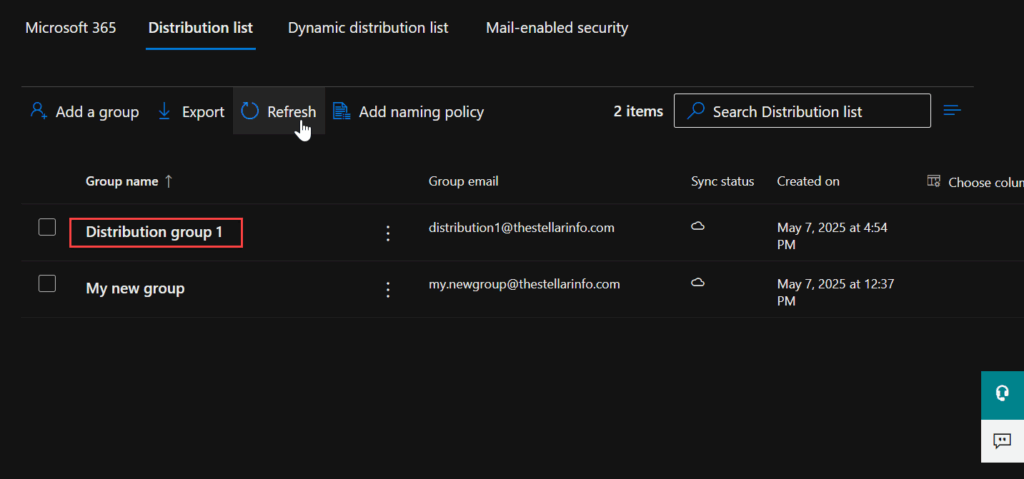
- Navigate to distribution groups and confirm that the group is created successfully. If you are unable to view the distribution group, try refreshing the list.
Step 3: Populate the CSV File in the Distribution Group
Now, you can import the data from the CSV file into the newly created distribution group. To do this, open the Exchange Management Shell (EMS) and run the following PowerShell cmdlet:
$dlmembers = import-csv migrations.csv
And then, use the following cmdlet to recreate the distribution list in Office 365.
foreach ($dlmember in $dlmembers) {Add-DistributionGroupMember “Example” -member $dlmember.PrimarySmtpAddress}
How to Migrate Public Folders to Office 365?
Now, we will discuss the methods to migrate public folders from on-premises Exchange Server to Office 365.
Method 1: Migrate Public Folders using Microsoft Public Folder Migration Script
You can migrate public folders from Exchange Server to Microsoft 365 using the Microsoft Public Folder Migration Script. This method follows a structured approach, ensuring data integrity and minimizing disruptions during the migration process.
For this, you need to download the scripts and save them on the local server where you use your Exchange Management Shell. You need to download both the Mail-enabled Public Folders – directory sync script and SourceSideValidations.ps1 PowerShell script.
To know the detailed process, read: How to migrate legacy public folders to Microsoft 365 or Office 365.
If you are not migrating legacy public folders, you can use the next method.
Method 2: Migrate Public Folders using Outlook PST Export
Public folders are accessible in Outlook on the web, Outlook 2007 or later version, and Outlook for Mac. You can export the public folder to PST file using Outlook and then import the PST into the Office 365 account. Follow the steps given below:
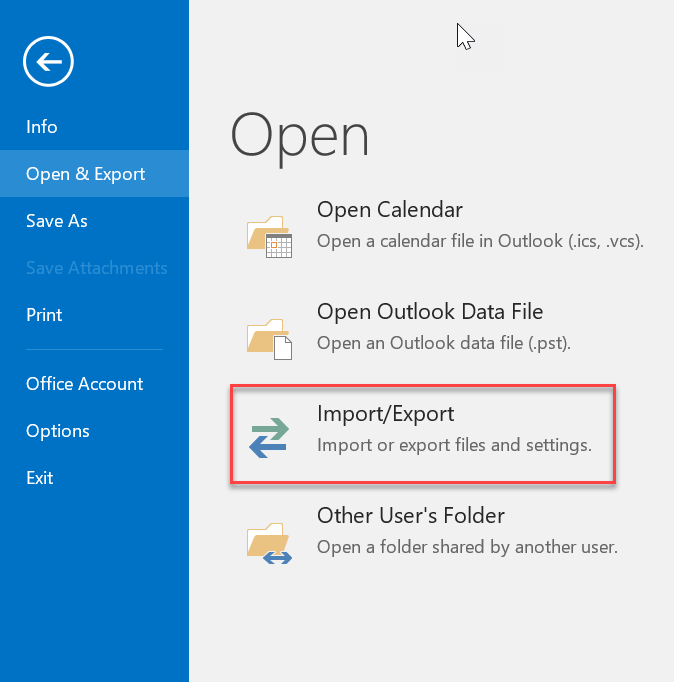
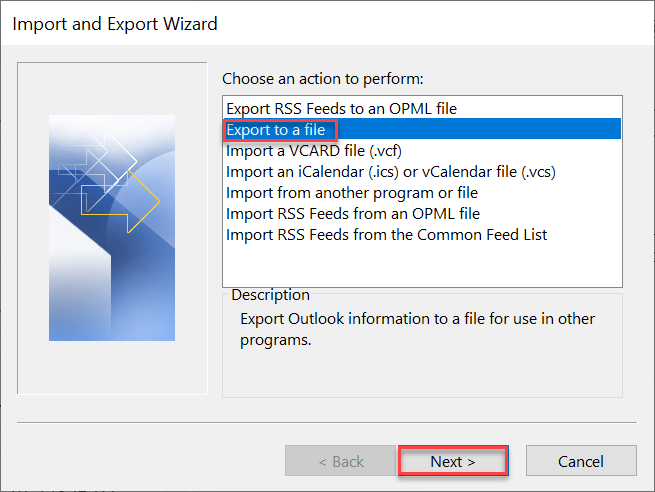
- Open Outlook and navigate to File > Open & Export > Import/Export.
- On the next screen, select Export to a file and click Next.
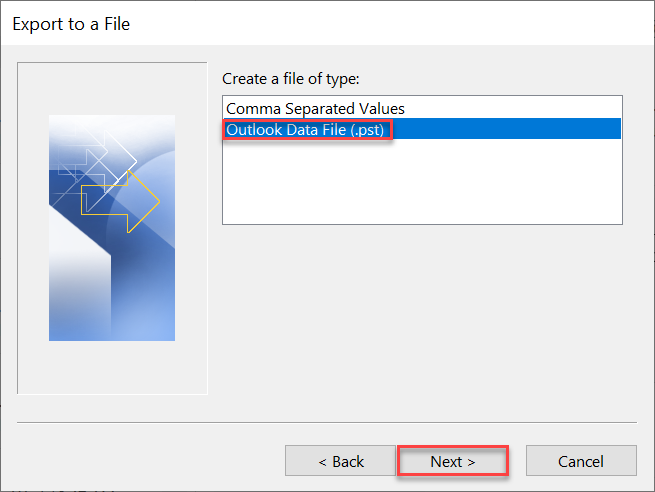
- On the next screen, select Outlook data file (.pst) and then click Next.
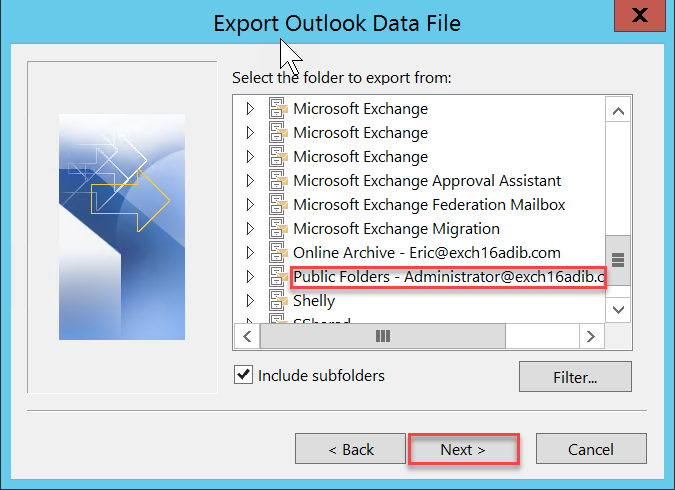
- Select the Public Folders option from the list and click on Next.
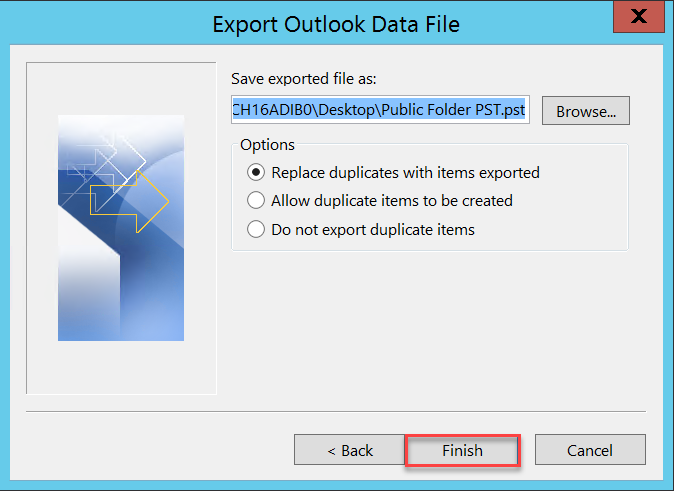
- Select a location to save the exported PST file and select any one option for the duplicate items. Click Finish.
Now, download the Public Folder migration scripts, generate a CSV file, and start the migration. To know the detailed steps, read: Migrate Public folders to Office 365 using PST.
Alternate Method to Migrate Public Folders to Office 365
To avoid the complexities of manual methods, you can use an advanced Exchange migration tool, such as Stellar Migrator for Exchange.
It is a tool designed to simplify the process of migrating user mailboxes, public folders, and other items from on-premises Exchange Server to Office 365 (Microsoft 365).
To perform the migration process, you need to connect the software to source Exchange Server and the destination Office 365 account.
Then, select the mailbox type as public folders after which the software will scan the source server and list the public folders found on the server. You can then start the migration process. The software will show you the live status of the migration process.
This tool can also be used for local Exchange to Exchange migration, Microsoft 365 to Microsoft 365 migration, and Microsoft 365 to local Exchange migration.
Conclusion
Public folders and distribution groups are essential features of the Exchange Server to facilitate collaboration and teamwork. They are used to store data that can be accessed by multiple people in the organization based on the settings and permissions.
In case of migration to Office 365 from Exchange Server, it is essential to migrate the distribution groups and public folders, along with the primary mailboxes.
You can follow the methods mentioned above to migrate distribution groups and public folders to Office 365. To save time and resources when migrating public folders, you can use Stellar Migrator for Exchange.


Related